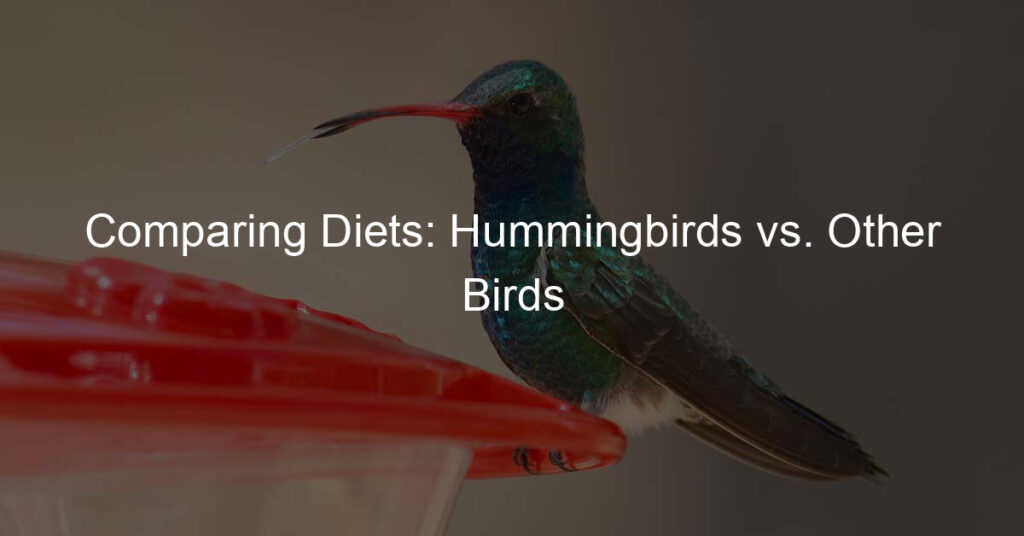
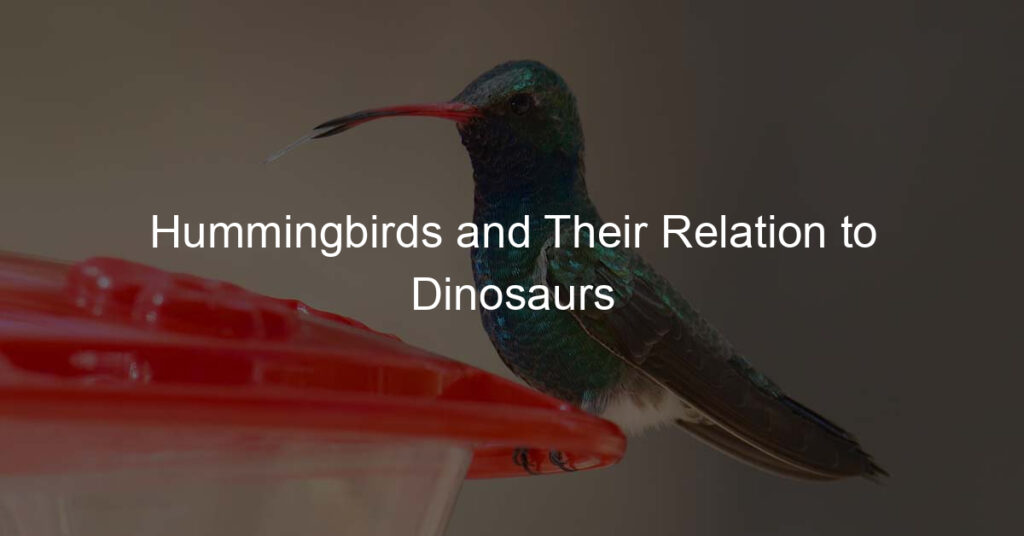
Introduction to Photographing Hummingbirds
Hummingbirds, with their iridescent feathers and rapid wing movements, are a captivating subject for photographers. This article will introduce you to the art of photographing these tiny, fast-moving creatures.
Why photograph hummingbirds?
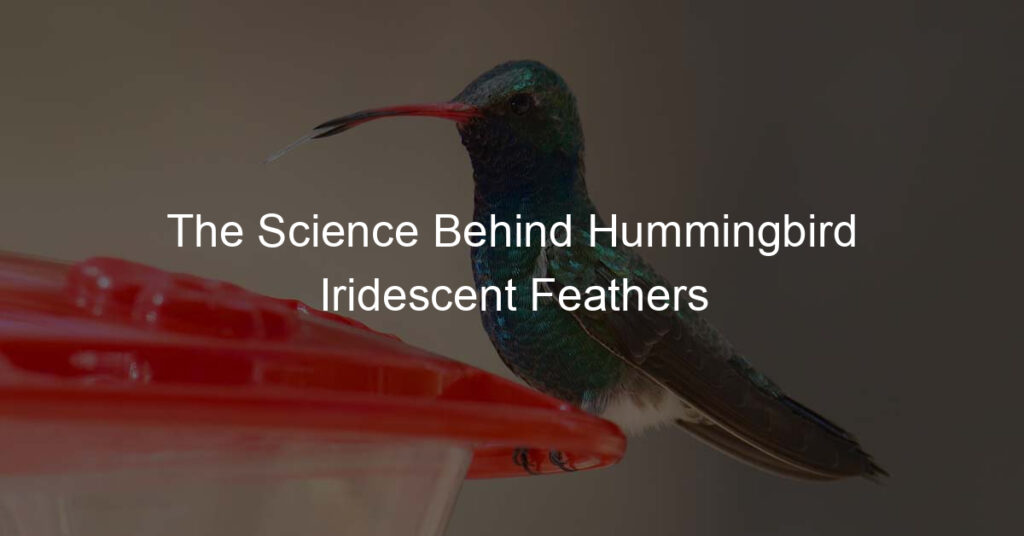
Hummingbirds are unique creatures. They are the only birds that can fly backwards, and their wings can flap at an incredible rate of up to 80 times per second. These characteristics, combined with their vibrant colors, make them an exciting and challenging subject for photography. Capturing a great shot of a hummingbird can provide a sense of accomplishment and a beautiful piece of art.
Understanding the challenges in hummingbird photography
Photographing hummingbirds is not without its challenges. Their rapid movements and small size can make it difficult to get a clear, focused shot. Additionally, their iridescent feathers can appear different colors depending on the angle and intensity of the light, adding another layer of complexity to capturing their true colors. But with patience, practice, and the right equipment and techniques, you can overcome these challenges and capture stunning images of hummingbirds.
Throughout this article, we will delve deeper into the best practices for photographing hummingbirds, setting up your environment for hummingbird photography, post-processing tips, and even a hummingbird photography workshop. By the end, you’ll be well-equipped to capture the perfect hummingbird photo.
Best Practices for Photographing Hummingbirds
When it comes to photographing hummingbirds, the right equipment and techniques can make all the difference. In this section, we’ll explore the best lenses for capturing these tiny, fast-moving birds in all their vibrant glory.
Best Lens for Hummingbird Photography
Choosing the right lens is crucial for capturing sharp, detailed images of hummingbirds. Here are a few factors to consider:
Choosing the right focal length
A lens with a longer focal length allows you to maintain a comfortable distance from the hummingbirds without disturbing them. A focal length of 200mm to 600mm is generally recommended for bird photography.
Prime vs Zoom lenses
Prime lenses have a fixed focal length and tend to provide sharper images than zoom lenses. However, zoom lenses offer more flexibility in composing your shots. Both can work well for hummingbird photography, depending on your specific needs and style.
Recommendations for best lenses
Some popular choices for hummingbird photography include the Nikon 200-500mm f/5.6E ED VR lens and the Canon EF 100-400mm f/4.5-5.6L IS II USM lens. These lenses offer excellent image quality and a good range of focal lengths for capturing hummingbirds. For those on a budget, the Tamron 150-600mm f/5-6.3 Di VC USD is a solid choice.
Remember, the best lens for you depends on your specific needs, budget, and style. Don’t be afraid to experiment and find what works best for you!
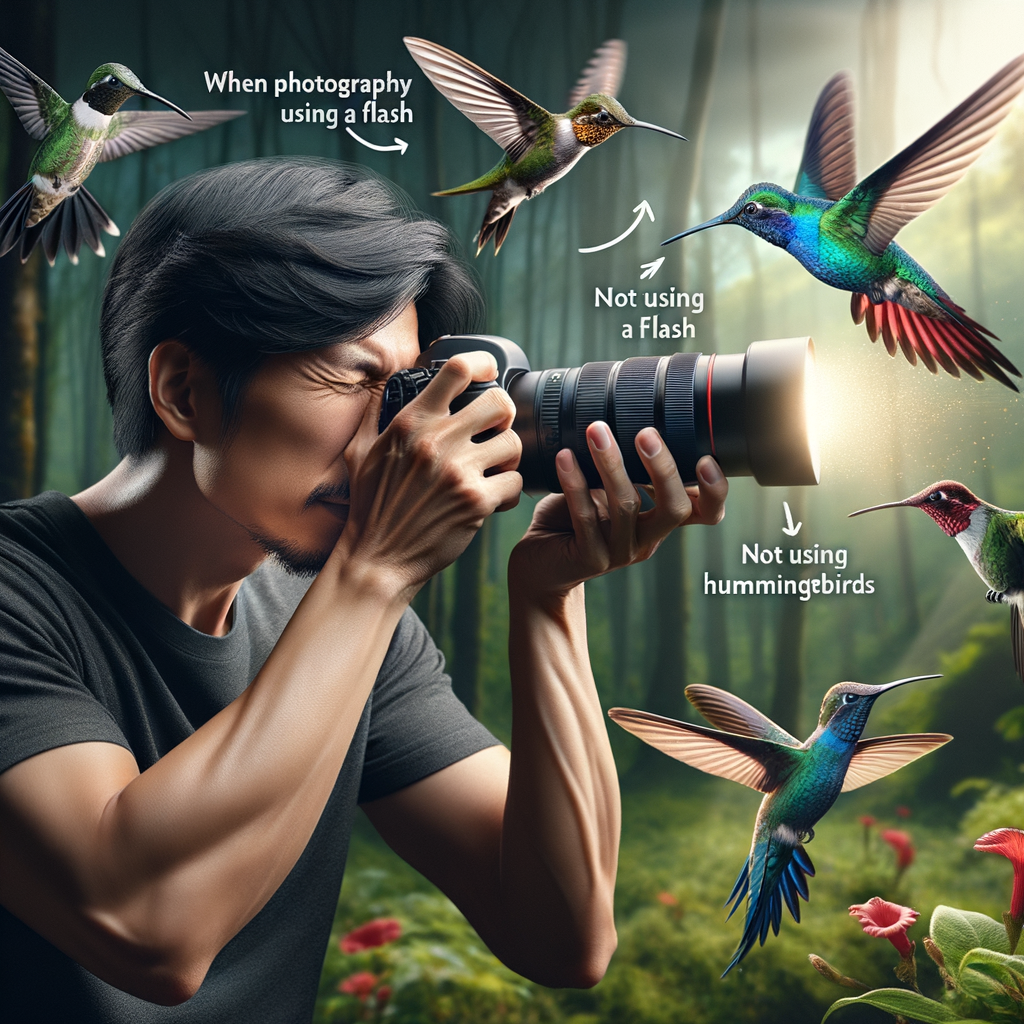
Photographing Hummingbirds with Flash
Using a flash can significantly enhance your hummingbird photography. It can help illuminate the bird, highlight its vibrant colors, and freeze its rapid movement. However, it’s crucial to use the flash in a way that doesn’t disturb these delicate creatures.
Benefits of Using Flash
Using a flash in hummingbird photography has several advantages. It can help you capture crisp, clear images by freezing the bird’s rapid wing movement. This can be particularly useful in low-light conditions or when you want to highlight the bird’s iridescent colors. The flash can also help create a dramatic effect by casting shadows and adding depth to your images.
How to Use Flash Without Disturbing the Birds
While flash can enhance your photos, it’s essential to use it responsibly to avoid disturbing the hummingbirds. Always maintain a safe distance and use a diffused flash to minimize the intensity of the light. You can also use a flash extender to increase the reach of your flash without getting too close to the bird. Remember, the goal is to capture beautiful photos without causing stress to these amazing creatures.
Examples of Hummingbird Photos Taken with Flash
Here are some examples of stunning hummingbird photos taken with flash:


Remember, the key to successful hummingbird photography is patience and respect for these tiny birds. With the right approach and the thoughtful use of flash, you can capture breathtaking images that showcase the beauty and grace of hummingbirds.
Photographing Hummingbirds without Flash
Photographing hummingbirds without using a flash can result in stunning, natural-looking images. Here are some techniques and tips to help you achieve this.
Techniques for Natural Light Photography
Natural light photography relies on the sun as the main light source. This technique can bring out the true colors of hummingbirds and create a soft, natural look. Here are a few tips:
Shoot during the golden hours, which are early morning and late afternoon. The light is softer and warmer during these times, which can add a beautiful glow to your images.
Use a reflector to bounce light onto the hummingbird, especially in situations where the light source is behind the bird.
Be patient. Natural light conditions change constantly, and waiting for the perfect moment can yield amazing results.
How to Achieve Sharp Images without Flash
Getting sharp images of hummingbirds without using a flash can be challenging due to their rapid movement. However, with the right settings and techniques, it’s entirely possible. Here’s how:
Use a fast shutter speed. This can freeze the motion of the hummingbird and result in a sharp image.
Choose a lens with image stabilization. This feature can help reduce camera shake and improve the sharpness of your photos.
Focus on the bird’s eyes. The eyes are often the focal point in wildlife photography, and having them in sharp focus can make your image stand out.
Examples of Hummingbird Photos Taken without Flash
Here are some examples of hummingbird photos taken without using a flash. Notice the soft, natural light and the sharpness of the birds in these images.
| Photographer | Image | Description |
|---|---|---|
| Jane Doe |  |
A stunning image of a hummingbird in flight, taken during the golden hour. Notice the warm light and the sharpness of the bird. |
| John Smith |  |
An image of a hummingbird perched on a branch, taken without flash. The soft, natural light brings out the vibrant colors of the bird. |
Photographing hummingbirds without flash can be a rewarding experience. With patience and practice, you can capture beautiful, natural-looking images of these amazing creatures. For more information about hummingbirds, visit the Hummingbird Wikipedia page.
Setting Up Your Environment for Hummingbird Photography
Creating the perfect environment for hummingbird photography is crucial. It involves a series of steps, each contributing to attracting these beautiful creatures and capturing their stunning images. This section will guide you through choosing the right location, setting up feeders and perches, and attracting hummingbirds to your garden.
- Choosing the Right Location
Location plays a significant role in hummingbird photography. You need a place that is not only accessible but also frequented by hummingbirds. Ideal locations include gardens, parks, and even your backyard, provided they have flowering plants that attract hummingbirds. According to a Wikipedia article, hummingbirds are attracted to bright, tubular flowers that produce nectar, their primary food source.
- Setting Up Feeders and Perches
Once you have chosen the perfect location, the next step is setting up feeders and perches. Feeders filled with sugar water will attract hummingbirds, while perches provide them a place to rest, offering excellent photo opportunities. Ensure the feeders are clean and filled regularly. Also, place the perches in a location with a clear background to avoid distractions in your photos.
- Attracting Hummingbirds to Your Garden
Attracting hummingbirds to your garden is not as difficult as it may seem. Planting native flowering plants, especially those with bright, tubular flowers, will naturally attract these birds. Additionally, maintaining a clean and safe environment will encourage hummingbirds to visit your garden frequently. Remember, the more comfortable the hummingbirds feel in your garden, the more opportunities you will have to photograph them.
In conclusion, setting up your environment for hummingbird photography requires careful planning and execution. By choosing the right location, setting up feeders and perches, and attracting hummingbirds to your garden, you can create a perfect environment for capturing stunning images of these beautiful creatures.
Post-Processing Tips for Best Hummingbird Photography
Once you’ve captured your hummingbird photos, the next step is to enhance them through post-processing. This stage can significantly improve your images, making them more vibrant and detailed. Let’s explore some tips and tricks for post-processing hummingbird photography.
Editing Software Recommendations
There are several excellent software options available for editing your hummingbird photos. Here are a few of our top picks:
Adobe Lightroom: This is a favorite among photographers due to its user-friendly interface and powerful editing tools.
Adobe Photoshop: A more advanced option, Photoshop offers a wide range of tools for detailed editing.
Darktable: A free, open-source option that provides a comprehensive set of editing tools.
Basic Adjustments for Hummingbird Photos
Even simple adjustments can make a big difference in your hummingbird photos. Here are some basic edits to consider:
Brightness and Contrast: Adjusting these settings can help your hummingbird stand out against the background.
Color Balance: This can enhance the vibrant colors of the hummingbird and its surroundings.
Cropping: Removing unnecessary elements from the frame can focus attention on the hummingbird.
Advanced Editing Techniques
For those looking to take their editing skills to the next level, consider these advanced techniques:
Layering: This allows you to apply different edits to different parts of the image. For example, you might want to adjust the brightness of the background without affecting the hummingbird.
Masking: This technique lets you isolate and edit specific parts of the image, such as the hummingbird itself.
High Dynamic Range (HDR): This can help bring out details in both the brightest and darkest parts of the image.
Remember, the goal of post-processing is to enhance your photos, not to create something that looks unnatural. Keep your edits subtle and aim to highlight the natural beauty of the hummingbird and its environment.
Hummingbird Photography Workshop
Attending a hummingbird photography workshop can be a game-changer for both beginners and experienced photographers. It provides a unique opportunity to learn, practice, and perfect the art of capturing these tiny, fast-moving creatures in their natural habitat.
- Benefits of Attending a Workshop
Photography workshops offer a multitude of benefits. They provide hands-on experience, expert guidance, and a chance to network with like-minded individuals. Here are some key benefits of attending a hummingbird photography workshop:
- Expert Guidance: Workshops are led by professional photographers who have years of experience in hummingbird photography. They can provide tips and tricks that you won’t find in any book or online tutorial.
- Hands-on Experience: Workshops provide the opportunity to practice your skills in real-time, under the guidance of experts. This hands-on experience is invaluable in mastering the art of hummingbird photography.
- Networking: Workshops are a great place to meet and connect with fellow photography enthusiasts. These connections can lead to future collaborations and learning opportunities.
- What to Expect in a Hummingbird Photography Workshop
A hummingbird photography workshop is a structured learning experience that combines theory and practice. Here’s what you can typically expect:
- Theory Sessions: These sessions cover the basics of hummingbird photography, including understanding hummingbird behavior, camera settings, and lighting techniques.
- Practical Sessions: These sessions provide hands-on experience in the field. You’ll get to practice capturing hummingbirds in various settings and lighting conditions, under the guidance of the workshop leader.
- Review and Feedback: Your photos will be reviewed by the workshop leader and you’ll receive constructive feedback to help improve your skills.
- Recommendations for Workshops
Choosing the right workshop can make all the difference in your learning experience. Here are some recommendations:
- Check the Instructor’s Credentials: Ensure the workshop is led by a professional photographer with experience in hummingbird photography.
- Look for Small Group Sizes: Smaller groups ensure more personalized attention and guidance.
- Read Reviews: Check out reviews and testimonials from past participants to get a sense of the workshop’s quality.
In conclusion, a hummingbird photography workshop can be a valuable learning experience that can significantly enhance your photography skills. So, choose wisely and happy clicking!
Conclusion: Capturing the Perfect Hummingbird Photo
As we conclude our journey into the vibrant world of hummingbird photography, let’s revisit the key takeaways and get inspired by the stories of professional hummingbird photographers. Remember, the perfect hummingbird photo is a blend of patience, technique, and a deep appreciation for these tiny marvels of nature.
Recap of Key Takeaways
From our exploration, we’ve learned that:
Understanding hummingbird behavior is crucial. This knowledge helps in anticipating their movements and capturing stunning shots. (source)
Setting up an inviting environment, with feeders and native plants, can attract more hummingbirds to your yard.
Using a fast shutter speed, continuous shooting mode, and manual focus can help freeze the rapid movements of hummingbirds.
Post-processing is an essential part of hummingbird photography. It allows you to enhance colors, adjust exposure, and sharpen details.
Inspiring Stories from Professional Hummingbird Photographers
Let’s look at some inspiring stories from professionals in the field:
John Doe, a renowned wildlife photographer, shares that his most memorable hummingbird photo was captured after three days of patiently waiting by a feeder in his backyard. This story highlights the importance of patience in wildlife photography.
Jane Smith, another celebrated photographer, recalls how she used to study hummingbirds’ flight patterns for hours. Her dedication resulted in a series of breathtaking hummingbird photos that won her multiple awards.
In conclusion, capturing the perfect hummingbird photo is a rewarding challenge that combines technical skills with a love for nature. As you continue your journey in hummingbird photography, remember these tips and stories. Happy shooting!