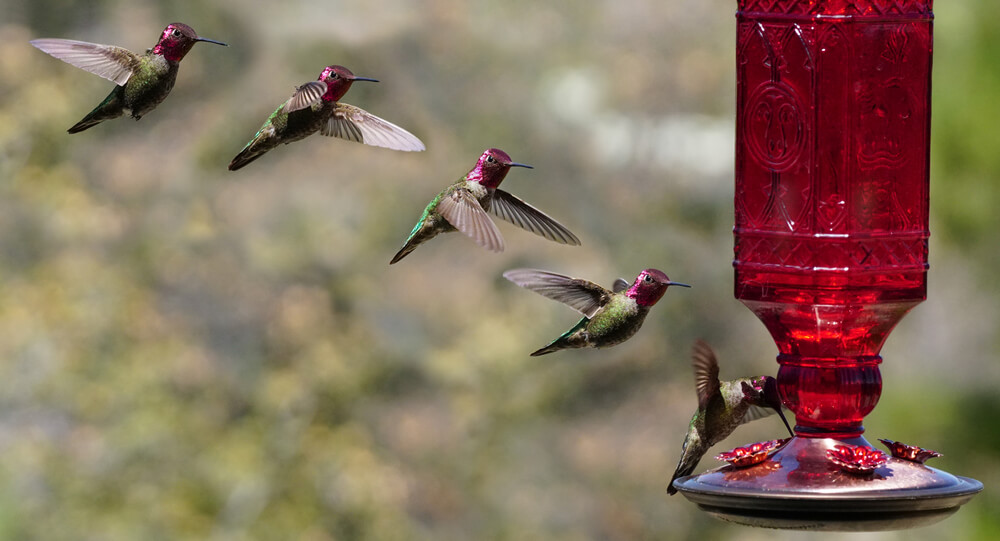
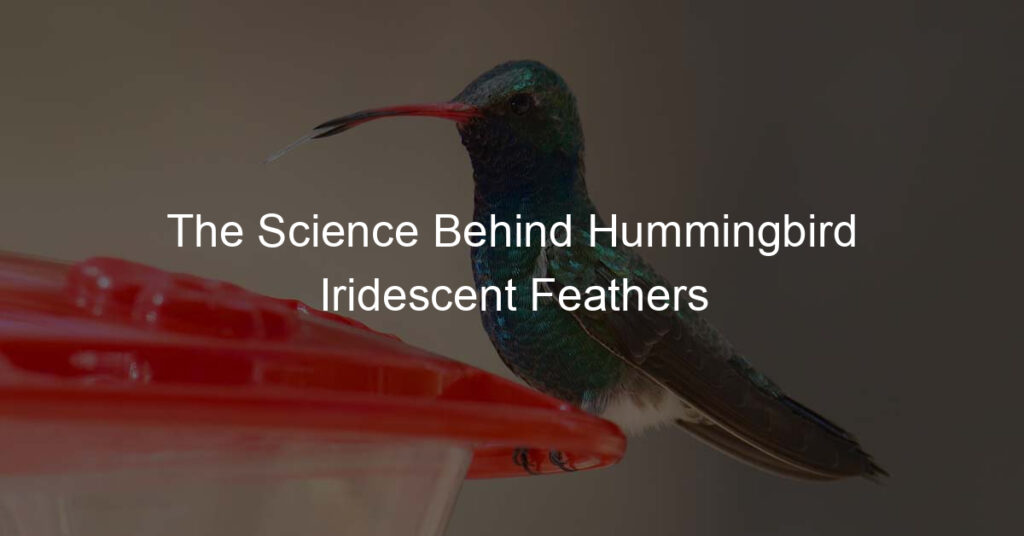
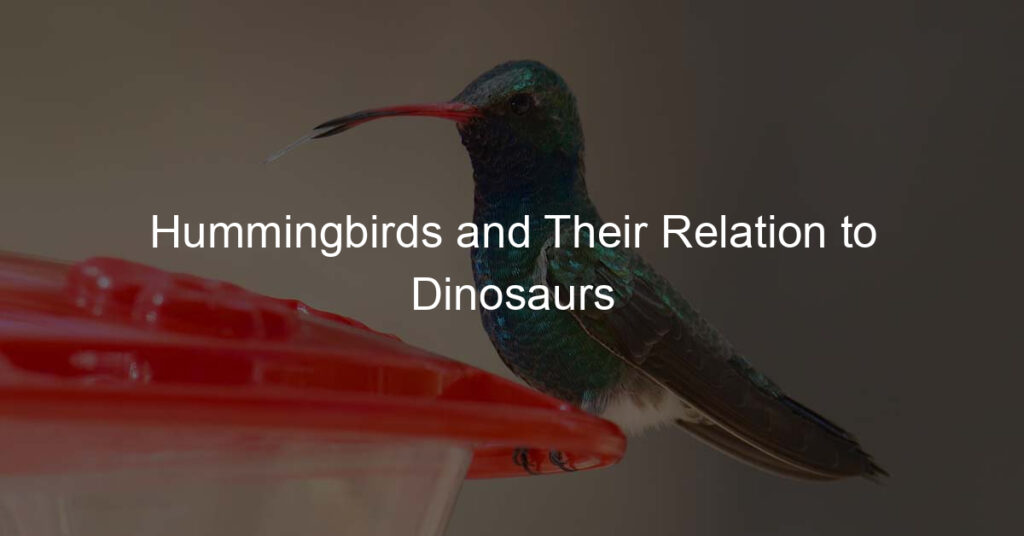
Having a colorful hummingbird feeder is a significant cause of attraction, and most birders have observed that hummingbirds are attracted to red and other bright colors.
However, there’s no comprehensive reason why these birds get attracted to red.
The feathered friends are high-flying and get to see the red and yellow colors at the far end of the spectrum. The dense concentration of cones in the retina gives them a good view of colors.
Red should top your list when coloring your feeder, and don’t forget to include other bright colors. There are many considerations for the painting’s colors.
Stick on as we get more profound about the best type of paint for a hummingbird feeder and other facts on hummingbirds.
Why Use a Safe Paint?
Not every paint works for a bird feeder; ensure you choose paint that can’t harm the birds.
A hummingbird feeder is placed outside either in your backyard or flowerbed; it’s good to use paint that will work during the windy, sunny, rainy, or snowy season.
A paint that offers UV light protection will work perfectly during the sunny season.
Get waterproof paint to avoid disappointments during the rainy season. You don’t want to see your newly applied paint swelling and forming bubbly in the rainy season.
Other than getting destroyed by external factors, the little aggressive friends may fight with other invading birds destroying the paint.
Additionally, since multiple birds can access the feeder, we expect the paint to peel off gradually due to wear caused by the beaks.
The paint should be safe enough that if the hummingbirds consume it accidentally while picking the nectar, it will not have effects.
Top 4 Types of Paint for a Hummingbird Feeder
1. Oil-Based Paint
One thing I love about oil-based paint is its durability and high resistance to low temperature. The paint will give your feeder the best look.
The best part is one coat is enough to apply on your feeder, and you don’t require a primer when applying the first coat.
The clean-up process before applying the paint is minimal, and if you are reviving your old feeder, don’t worry about the stubborn dirt; you can apply the paint on dirty surfaces.
It’s the best paint for covering dents and patches on your feeder, giving it the glossy finish you desire. You can choose to spray or brush paint.
Additionally, the paint requires low maintenance.
2. Acrylic Paint
The brush on paint matches well with other acrylic colors to make your hummingbird feeder attractive.
The paint has advanced elasticity, which allows it to expand and contract effectively with the temperature change, preventing flaking.
Its fast-drying and odorless nature will work well for your feeder. Consider mixing more color to give your feeder a fantastic pattern.
3. Latex Paint
The paint is easy to apply to your feeder surface. It contains fewer toxic fumes. It’s also budget-friendly compared to other paints.
Once you want to remove the paint, you can easily clean it using soap and water, plus you only need a few coats to paint your feeder.
It’s also available in large quantities, making it the best paint in your project of installing more hummingbird feeders in your garden.
4. Watercolor Paint
Watercolor paints dry faster than all paints, and they are effortless to apply to your feeders. However, their resistance can’t beat oil-based paint; it’s decent enough for your feeder.
It’s suitable for the first application as it requires minimal maintenance since it’s waterproof.
Best Colors for Your Hummingbird Feeder
Apart from red, other primary colors will help attract hummingbirds. Hummingbirds see more colors compared to human beings.
Pink and yellow attract the hummingbirds. Don’t use white color for your feeder; most birds interpret the color as a sign of danger, scaring them away.
Don’t paint the interior of your feeder since the birds can pick the tiny particles of paint while reaching out for the nectar at the surface.
Hummingbirds feed directly on the side ports. Don’t paint the sides since their mouth gets into contact with them.
Staining your feeders is not a good idea as it may leave some stains on the interior, and that’s what we are avoiding at all costs,
It’s okay to use spray paints on your hummingbird feeder, and remember to cover the inside to ensure no paint gets into the feeder.
4 DIY Painting Steps for Your Hummingbird Feeder
1. Clean the Dirt
Before painting your feeder, clean it to remove any dirt on the surface for a smooth painting. A damp cloth works perfectly in wiping the surfaces. Allow it to dry.
2. Use a Primer Coat
Primers help in acting as primary agents for your unpainted feeder. A white primer is preferred since it perfectly accommodates other brightly colored paints.
However, not all paints require a primer before application.
3. Apply the Paint
Depending on which among the two colors you choose from the hummingbird’s favorite, apply the coat carefully on the exterior.
The color richness you desire will determine the number of coats you apply. The light paints can use up to ten coats.
Ensure you apply the paint outdoors or in a well-ventilated room. Remember to leave out the interior of your feeder.
4. Allow it to Dry.
For the best outcome, allow your feeder to dry completely before hanging it or placing it in its position. Fast-drying paints will give you an easy time.
Although most paints are harmless, ensure that the birds don’t contact the paint.
For extra protection from wear and tear, consider using a sealer after the last coat of paint, which will prevent the birds from ingesting the paint.
If you have a metal hummingbird feeder, use either the oil base, latex, or acrylic paint but ensure you wipe off any dirt before applying the primer.
Final Thoughts
With the above information about paints and your hummingbird feeder, you will have an easy time choosing the right paint for your feeder and how to use them. Take your time and choose the best hummingbird feeder to attract more birds.
Don’t forget to add more feeders to your garden for a beautiful view during the migration season. All the best in your painting mission.

